Node Information and Actions
The Network Map page lets network operators view node information and perform node actions.
| ➢ | To view node information: |
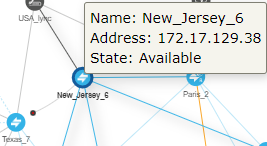
| 1. | Point your cursor over the node whose information you want to view. |

| 2. | Use the following table as reference. |
Node Information
| Item | Description |
|---|---|
|
Name |
The name of the Node |
|
Address |
The IP address of the Node |
|
State |
Available / Unavailable / Unrouteable / Logged out / Logging in. The ARM provides a robust node State Machine based on the node’s connectivity to the ARM component. When determining a node’s connectivity and ability to process a call in the State Machine, the ARM factors in the node’s connectivity to the ARM Configurator (both ways), the node’s connectivity to ARM Routers (from the node’s perspective) and the node’s connectivity to ARM Routers (from the ARM Routers perspective). The ARM Routers attempt to serve the node’s routing requests even if the node is reported as disconnected from the ARM Configurator. In this case, the ARM Router routes calls based on last available information about the nodes' interfaces, their availability and quality. This node’s ‘Unknown’ state is reported via ARM alarms. A node becomes Unrouteable only if all ARM Routers report that the node does not communicate with them (neither ‘keep-alive’ nor ‘Get Route’ requests). To help you localize a network issue, the Node Summary screen displays a detailed view of the node’s connectivity status, as shown in the following figure. |
| 3. | Click a node to view the 'Summary' on the right side of the Network Map page. |
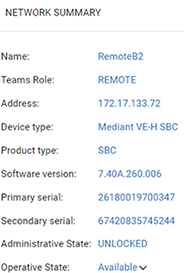
The preceding figure above left shows the Node Summary of an entity whose Teams Role is REMOTE.
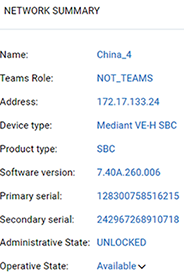
The figure above right shows the Node Summary of an entity whose Teams Role is NOT_TEAMS.
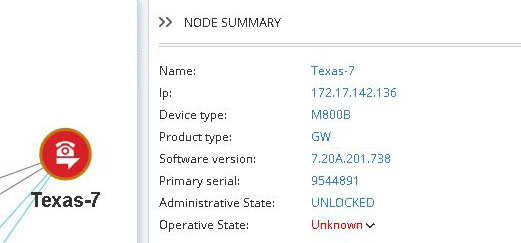
The example below shows a node’s 'Operative State' as Unknown when the ARM Configurator is unable to access the SBC 'Texas-7'. Note that in this state, call routing requests coming from this node to the ARM Routers will be served.
Node’s ‘Unknown’ Operative State
| ➢ | To perform an action on a node: |
| 1. | Right-click the node on which to perform an action. |
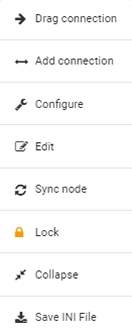
| 2. | From the popup, choose: |
Drag Connection
| ● | Add Connection [also available by selecting a node and then clicking the Add Connection button] |
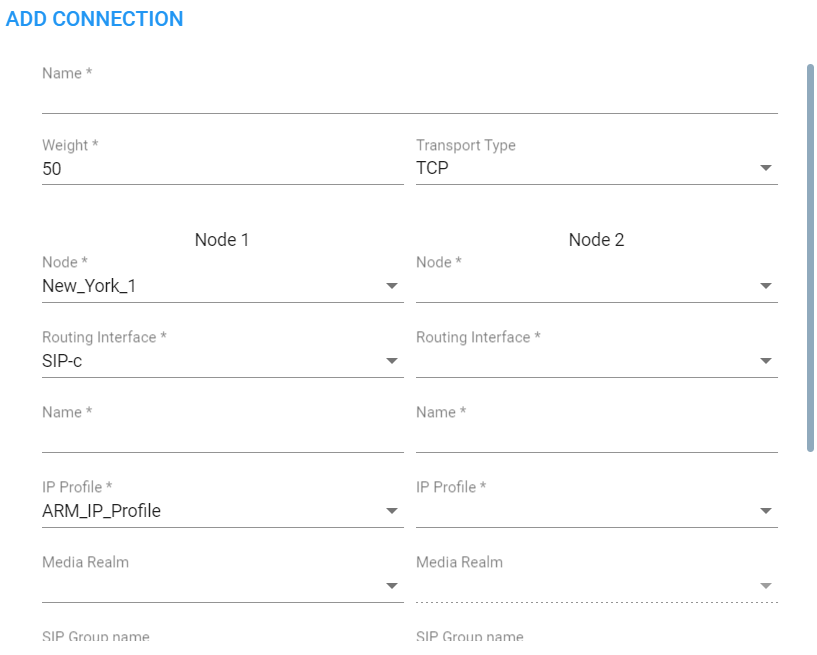
| ◆ | Make sure the relevant SIP interface in the SBC is provisioned and configured as ‘Used by routing server’ |
| ◆ | In the Add Connection screen shown in the figure above, Node-1 will be configured (the node you initially selected). From the ‘Node-2’ drop-down menu, select the node to which to make the connection, and then click OK. See Add an AudioCodes Node to the ARM for more information. |
| ● | Configure. Lets you directly configure a node (or SIP module) in the node's Web interface without needing to provide the node’s credentials (Single Sign-on). See the AudioCodes device's User's Manual for detailed information. Nodes version 7.2.150 and later are supported. Earlier node versions do not support single sign-on; you must provide credentials before you can access their Web interface. Choose the option; the node's Web interface opens without prompting the operator for credentials. |
| ● | Edit [also available by right-clicking the node and then selecting Edit] |
| ◆ | In the Edit Node dialog that opens - see the following figure - update the credentials of the device if necessary. |
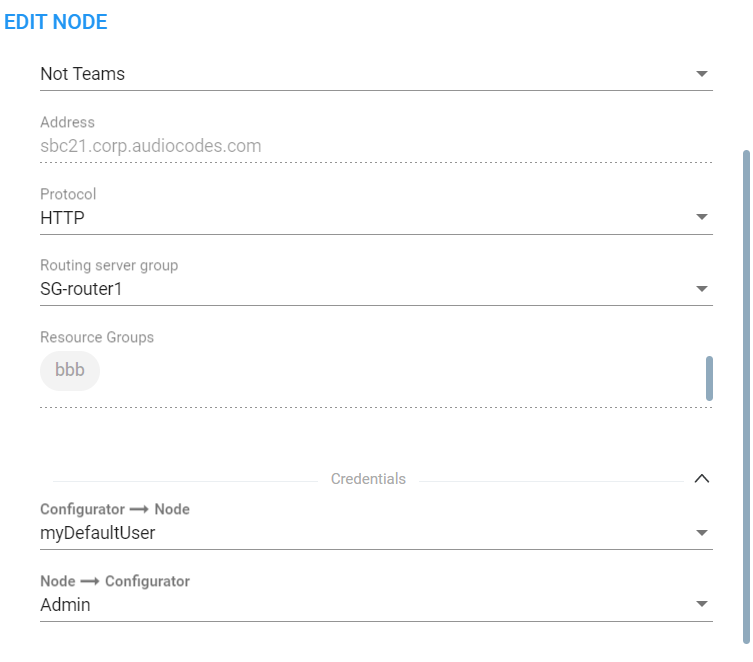
| ◆ | From the 'Protocol' drop-down menu, select the protocol that the ARM Configurator (server) uses when communicating with this node. Default: HTTPS. If you don't want to encrypt the traffic – e.g., when debugging – use HTTP. |
| ◆ | From the 'Routing server group' drop-down, select the Routing Server Group to which you attached the node, described under Adding a Routing Server Group with Internal and External Priorities. |
| ● | Sync Node |
| ● | Lock/Unlock |
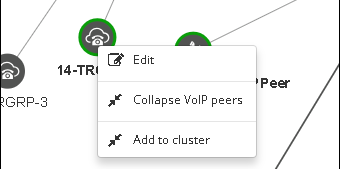
| ● | Collapse. In Network Map view, you can collapse VoIP Peers associated with a node. In large networks containing multiple VoIP Peers with each VoIP Peer connected to a node, this can significantly simplify (unclutter) the view, facilitating more effective management. To apply a collapse: |
| ◆ | In the Network Map page, right-click the node and select Collapse from the pop-up; all VoIP Peers associated with the node collapse. To undo, click  ; the Network Map page is refreshed. ; the Network Map page is refreshed. |
Collapsed VoIP Peers
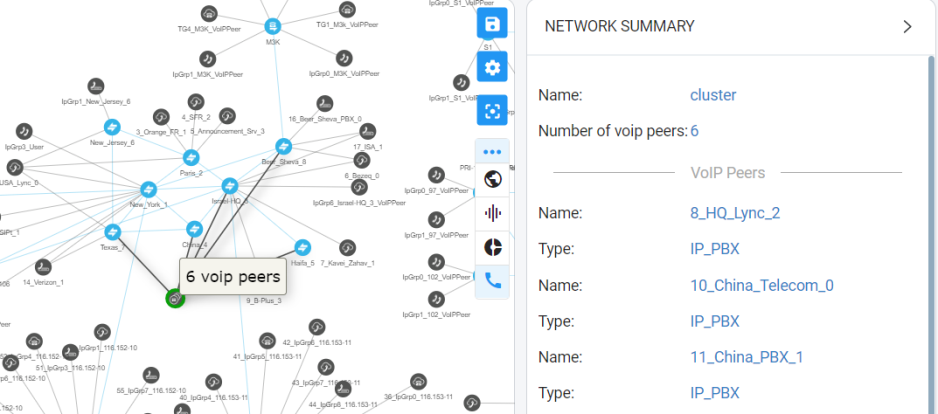
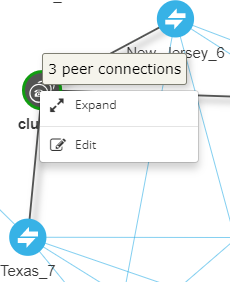
| ◆ | [Refer to the preceding figure] The cluster's tooltip in the Network Map as well as the summary in the right pane indicate the number of collapsed VoIP Peers / Peer Connections in the cluster. |
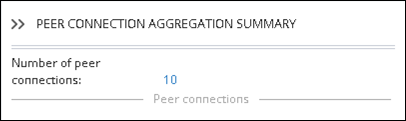
| ◆ | [Refer to the figure following] The summary can also indicate the aggregated number of collapsed VoIP Peers / Peer Connections in a cluster. |
Peer Connection Aggregation Summary
| ◆ | Add to cluster. You can add an additional VoIP Peer or multiple VoIP Peers to an existing cluster: (1) Select the target cluster to which to add (2) press the Ctrl key click one or multiple VoIP Peers to add to the target cluster (3) right-click and from the pop-up menu select the action Add to cluster. |
Add to cluster
| ◆ | VoIP Peers associated with more than one node are included in the collapsed cluster. If a test route is performed that terminates on a collapsed VoIP Peer, the VoIP Peer will not be expanded automatically and the path displayed in the GUI will terminate on the cluster icon. |
Test Route Path Terminates on Collapsed VoIP Peer
| ◆ | After collapsing VoIP Peers, you can expand them again by right-clicking the cluster icon and then choosing the Expand action from the popup. |
Expand Cluster of VoIP Peers
| ● | Delete. Only available if the Node has been Locked and no routing rules and Policy Studio rules are associated with it. If routing rules are associated with the Node or its Peer Connections and you want to delete it, update or delete the rule so it does not refer to the topology entity which is going to be deleted. |
| ● | Save INI File. Lets you save the AudioCodes device's INI file directly from the ARM without needing to SSO into the device, thereby making debugging and log collection easier. The action can also be performed in the Nodes page by selecting the Save INI File option from the Actions drop-down. |